


Now for this weeks weekend workshop, we are concentrating on blonde and light hair and we have 3 great tutorials from Natalie, Helen and Debbi
******************
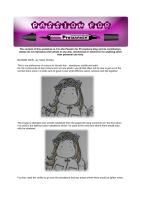
Blonde Hair tutorial - Natalie
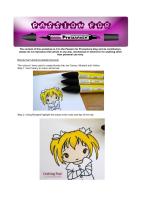
The colours I have used to create blonde hair are Canary, Mustard and Yellow.
Step 1. Use Canary to colour all the hair.

Step 2. Using Mustard highlight the areas at the roots and tips of the hair.

Step 3. Blend in with Yellow all over.

Step 4. Finally using Mustard again lightly go over the highlighted areas.


******************
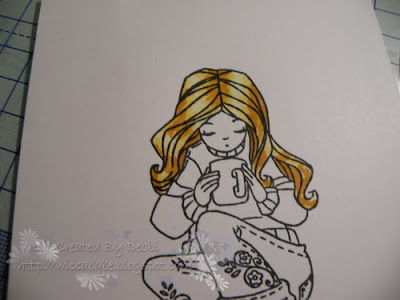
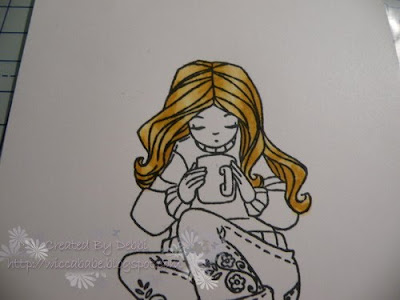
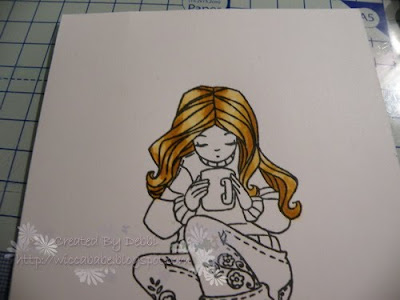
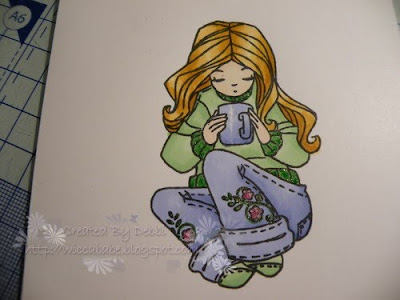
Dark Honey Blonde - Debbi
I've been experimenting with various colour combinations to try and find a realistic looking result for blonde hair and this is my version of what I call Dark Honey Blonde.
Firstly I stamped my image, which is Willow with Hot Chocolate, designed by Elisabeth Bell for Whiff of Joy, using Memento Tuxedo Black ink onto Stampin' Up whisper white cardstock.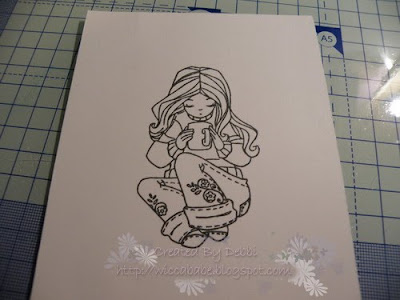
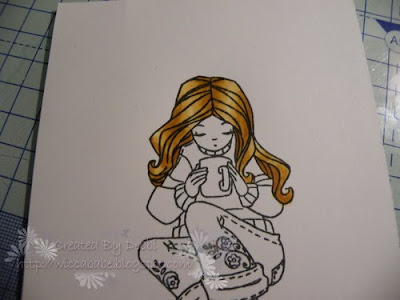
And this is my finished image
******************
Blonde Hair Tutorial - Helen
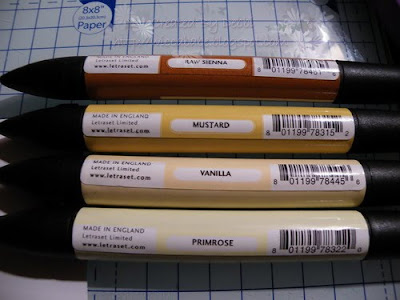
This is my preference of colours for blonde hair , sandstone, vanilla and satin. Its not my favourite of hair colours and not one which i use all that often but its nice to get out of the comfort zone once in a while and its good to see what different colour combos look like together


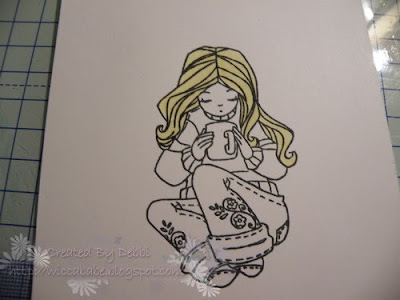
The image is stamped onto smooth cardstock from the papermill using memento ink. the first colour I've used is the darkest colour sandstone which I've used at the roots and where there would naturally be shadows.

I've then used the vanilla to go over the sandstone and any areas where there would be lighter tones.

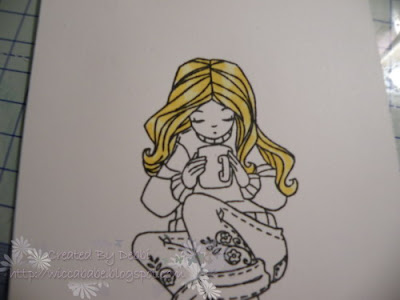
I've then used the satin to go over the whole image to create the lightest tone and to blend all the colours smoothly together. I always use the darkest colour first because the lighter colour promarkers will lighten dark colours so its much easier to add more ink to darken an area than it is to remove it.

and on the final picture I've used an inkessentials opaque white pen for highlights, but that’s just my preference
hope this helps
hugs
helen x
******************

Well I think you will agree those are 3 fantastic tutorials to have a play with this week and before we go 2 of the DT have some yummy candy up for grabs so if you pop over to Caryn and Ida you may get some gorgeous candy coming your way :)
coming up NEXT WEEK – Debbi’s image tutorial
Hugs Gina, Denise and the DT xxx


i so needed these tutorials and i must go buy the primrose colour now thankyou so very much xx
ReplyDelete